이번에 만들어 볼 것은 달력입니다.
구성은 간단합니다.
달력 구성에는 CollectionView를 사용했으면 계산으로는 DateComponent를 사용했습니다.
하나하나씩 따라 해주시면 됩니다.
1. Storyboard에 CollectionView 생성
storyboard에서 collectionView를 생성합니다.
저는 간단히 월 단위를 제어하는 뷰를 생성하여 top에 맞추어 주었고,
그 밑에는 간단히 CollectionView를 넣어주었습니다.
이 CollectionView에서 요일 섹션과 일 별 섹션을 나누어 할당할 것입니다. Cell은 커스텀 셀을 사용했습니다.

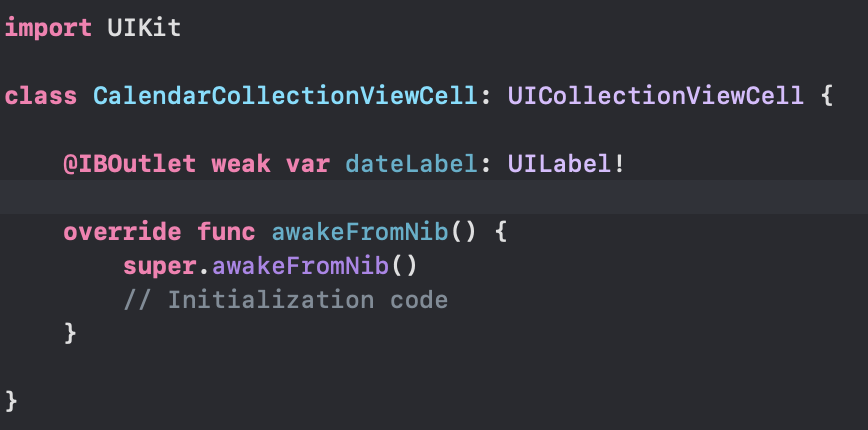
2. 커스텀 Cell 생성
사실 이번 앱에서는 셀을 이용한 기능이 없기 때문에 커스텀 셀을 사용하지 않아도 되지만, 저는 주로 커스텀 뷰나 셀을 즐겨 사용하기 때문에 간단한 기능이라도 도입하였습니다. 이 부분에 대해서는 사용하고 싶지 않으시다면 넘기셔도 됩니다.
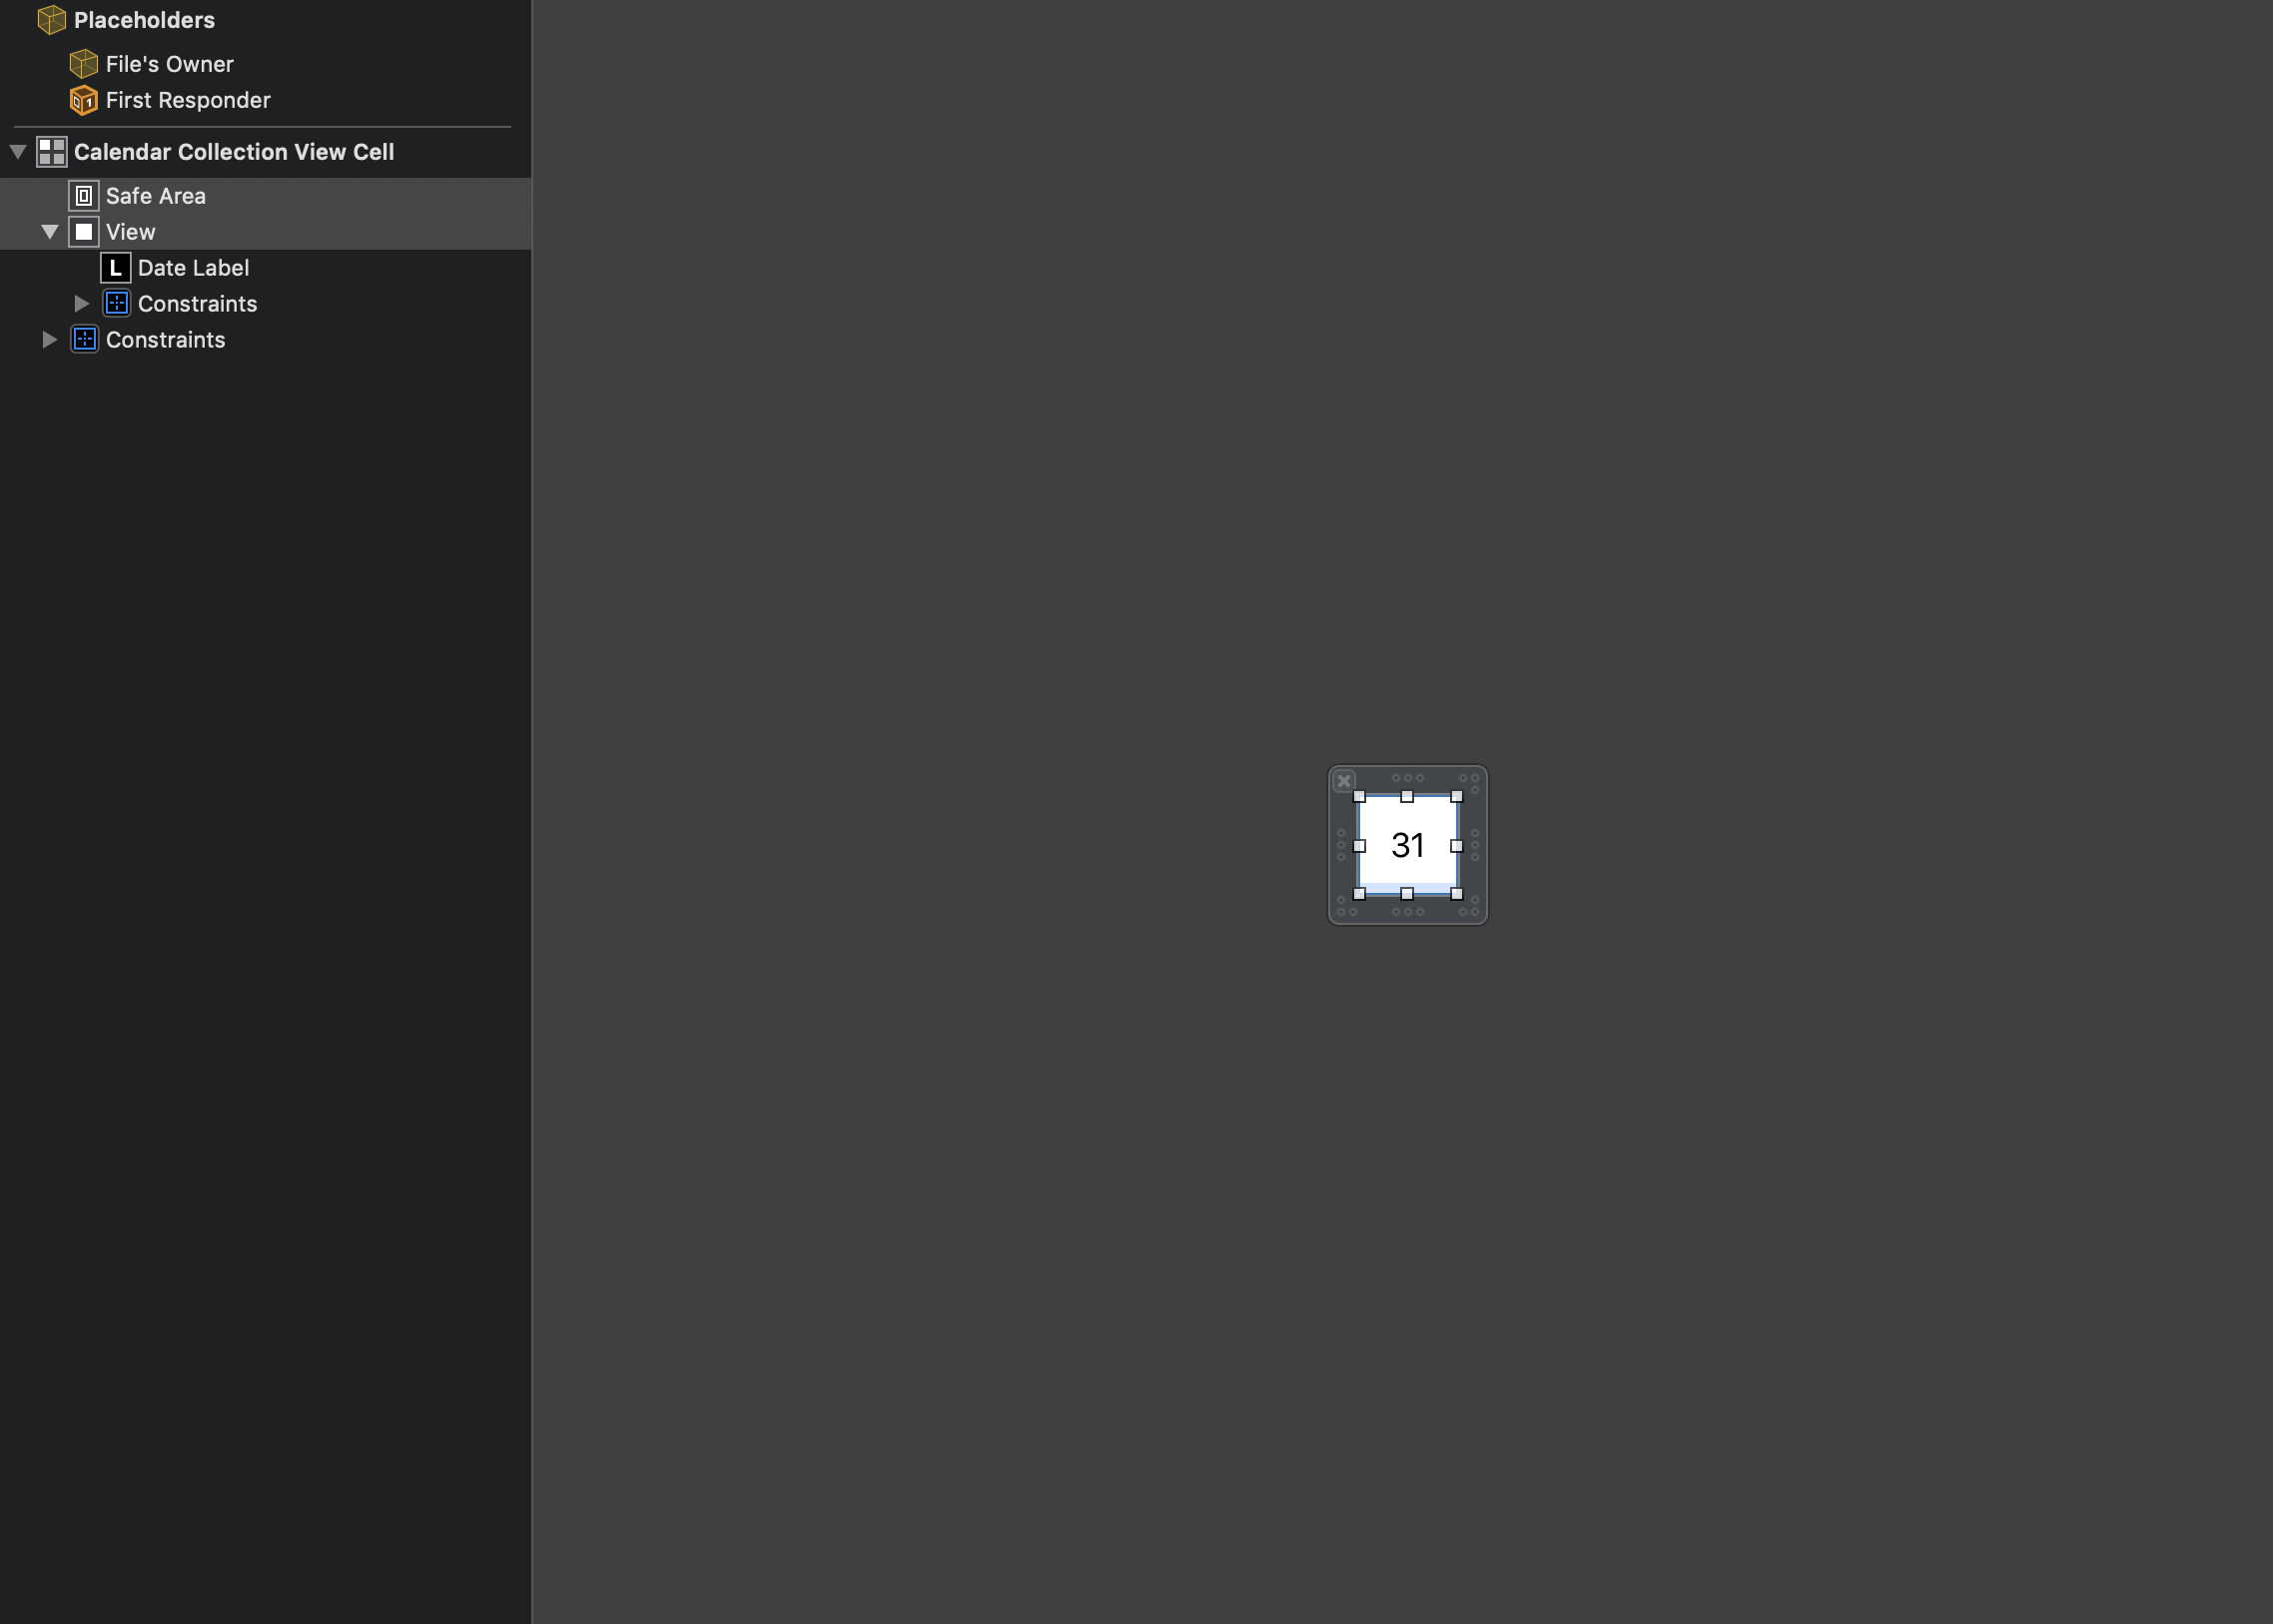
때문에, 이번 커스텀 셀에서의 설정은 진짜 간단한 것 밖에 없습니다.
3. 베이스 만들기
디자인은 끝이 났습니다. 이제 간단히 구성해줄 베이스를 한 번 만들어 보겠습니다. 가장 대표적으로 Delegate가 있습니다.
그리고 버튼 이벤트 설정, CollectionView 초기 설정 정도가 있습니다.
class ViewController: UIViewController {
@IBOutlet weak var yearMonthLabel: UILabel! // 월 표시 라벨
@IBOutlet weak var collectionView: UICollectionView!
override func viewDidLoad() {
super.viewDidLoad()
self.initView()
}
// 뷰을 초기 설정
private func initView() {
self.initCollection()
}
// CollectionView의 초기 설정
private func initCollection() {
self.collectionView.delegate = self
self.collectionView.dataSource = self
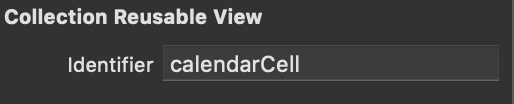
self.collectionView.register(UINib(nibName: "CalendarCollectionViewCell", bundle: nil), forCellWithReuseIdentifier: "calendarCell")
}
@IBAction func didTappedPrevButton(_ sender: UIButton) {
// 전 달로 이동
}
@IBAction func didTappedNextButton(_ sender: UIButton) {
// 다음 달로 이동
}
}4. 달력 계산
베이스 작성이 완료가 되었으면 이제 월 별로 표시할 수 있는 일의 수를 계산해 보겠습니다.
    let now = Date()
    var cal = Calendar.current
    let dateFormatter = DateFormatter()
    var components = DateComponents()
    var weeks: [String] = ["日", "月", "火", "水", "木", "金", "土"]
    var days: [String] = []
    var daysCountInMonth = 0 // 해당 월이 며칠까지 있는지
    var weekdayAdding = 0 // 시작일

 //---------------------------------- 변수 설정 -------------------------------------//

private func initView() {
        self.initCollection()

        dateFormatter.dateFormat = "yyyy年M月" // 월 표시 포맷 설정
        components.year = cal.component(.year, from: now)
        components.month = cal.component(.month, from: now)
        components.day = 1
        self.calculation()
    }

//------------------------------- 초기 설정 추가 -----------------------------------//


private func calculation() { // 월 별 일 수 계산
        let firstDayOfMonth = cal.date(from: components)
        let firstWeekday = cal.component(.weekday, from: firstDayOfMonth!) // 해당 수로 반환이 됩니다. 1은 일요일 ~ 7은 토요일
        daysCountInMonth = cal.range(of: .day, in: .month, for: firstDayOfMonth!)!.count
        weekdayAdding = 2 - firstWeekday // 이 과정을 해주는 이유는 예를 들어 2020년 4월이라 하면 4월 1일은 수요일 즉, 수요일이 달의 첫날이 됩니다.  수요일은 component의 4 이므로 CollectionView에서 앞의 3일은 비울 필요가 있으므로 인덱스가 1일부터 시작할 수 있도록 해줍니다. 그래서 2 - 4 해서 -2부터 시작하게 되어  정확히 3일 후부터 1일이 시작하게 됩니다.


1  일요일 2 - 1  -> 0번 인덱스부터 1일 시작

2 월요일 2 - 2  -> 1번 인덱스부터 1일 시작

3 화요일 2 - 3  -> 2번 인덱스부터 1일 시작

4 수요일 2 - 4  -> 3번 인덱스부터 1일 시작

5 목요일 2 - 5  -> 4번 인덱스부터 1일 시작

6 금요일 2 - 6  -> 5번 인덱스부터 1일 시작

7 토요일 2 - 7  -> 6번 인덱스부터 1일 시작


        self.yearMonthLabel.text = dateFormatter.string(from: firstDayOfMonth!)
        self.days.removeAll()

        for day in weekdayAdding...daysCountInMonth {
            if day < 1 { // 1보다 작을 경우는 비워줘야 하기 때문에 빈 값을 넣어준다.
                self.days.append("")
            } else {
                self.days.append(String(day))
            }
        }
    }
5. Cell 설정
계산 식이 끝이 났으므로 이제 각 셀에 적용을 해보겠습니다.
func collectionView(_ collectionView: UICollectionView, numberOfItemsInSection section: Int) -> Int {
        switch section {
        case 0:
            return 7 // 요일의 수는 고정
        default:
            return self.days.count // 일의 수
        }
    }


    func collectionView(_ collectionView: UICollectionView, cellForItemAt indexPath: IndexPath) -> UICollectionViewCell {
        let cell = collectionView.dequeueReusableCell(withReuseIdentifier: "calendarCell", for: indexPath) as! CalendarCollectionViewCell

        switch indexPath.section {
        case 0:
            cell.dateLabel.text = weeks[indexPath.row] // 요일
        default:
            cell.dateLabel.text = days[indexPath.row] // 일
        }

        if indexPath.row % 7 == 0 { // 일요일
            cell.dateLabel.textColor = .red
        } else if indexPath.row % 7 == 6 { // 토요일
            cell.dateLabel.textColor = .blue
        } else { // 월요일 좋아(평일)
            cell.dateLabel.textColor = .black
        }
        return cell
    }
6. 월 전환
이제 마지막으로 월을 전환했을 때의 처리를 추가해보겠습니다.
저번 달과 같은 경우는 components.month -1 다음 달은 +1로 간단히 구하실 수 있습니다.
후에 만들어 놓은 계산 식을 처리 후 마무리로 CollectionView를 갱신하시는 것으로 구하실 수 있습니다.
    @IBAction func didTappedPrevButton(_ sender: UIButton) {
        components.month = components.month! - 1
        self.calculation()
        self.collectionView.reloadData()
    }

    @IBAction func didTappedNextButton(_ sender: UIButton) {
        components.month = components.month! + 1
        self.calculation()
        self.collectionView.reloadData()
    }
7. ViewController 전체코드
class ViewController: UIViewController {

    @IBOutlet weak var yearMonthLabel: UILabel!
    @IBOutlet weak var collectionView: UICollectionView!

    let now = Date()
    var cal = Calendar.current
    let dateFormatter = DateFormatter()
    var components = DateComponents()
    var weeks: [String] = ["日", "月", "火", "水", "木", "金", "土"]
    var days: [String] = []
    var daysCountInMonth = 0
    var weekdayAdding = 0

    override func viewDidLoad() {
        super.viewDidLoad()
        self.initView()
    }

    private func initView() {
        self.initCollection()

        dateFormatter.dateFormat = "yyyy年M月"
        components.year = cal.component(.year, from: now)
        components.month = cal.component(.month, from: now)
        components.day = 1
        self.calculation()
    }

    private func initCollection() {
        self.collectionView.delegate = self
        self.collectionView.dataSource = self
        self.collectionView.register(UINib(nibName: "CalendarCollectionViewCell", bundle: nil), forCellWithReuseIdentifier: "calendarCell")
        self.collectionView.addGestureRecognizer(UILongPressGestureRecognizer(target: self, action: #selector(handleLongPressGesture(_:))))
    }

    private func calculation() {
        let firstDayOfMonth = cal.date(from: components)
        let firstWeekday = cal.component(.weekday, from: firstDayOfMonth!)
        daysCountInMonth = cal.range(of: .day, in: .month, for: firstDayOfMonth!)!.count
        weekdayAdding = 2 - firstWeekday

        self.yearMonthLabel.text = dateFormatter.string(from: firstDayOfMonth!)

        self.days.removeAll()
        for day in weekdayAdding...daysCountInMonth {
            if day < 1 {
                self.days.append("")
            } else {
                self.days.append(String(day))
            }
        }
    }

    @IBAction func didTappedPrevButton(_ sender: UIButton) {
        components.month = components.month! - 1
        self.calculation()
        self.collectionView.reloadData()
    }

    @IBAction func didTappedNextButton(_ sender: UIButton) {
        components.month = components.month! + 1
        self.calculation()
        self.collectionView.reloadData()
    }
}

extension ViewController: UICollectionViewDelegate, UICollectionViewDataSource {
    func numberOfSections(in collectionView: UICollectionView) -> Int {
        return 2
    }

    func collectionView(_ collectionView: UICollectionView, numberOfItemsInSection section: Int) -> Int {
        switch section {
        case 0:
            return 7
        default:
            return self.days.count
        }
    }

    func collectionView(_ collectionView: UICollectionView, cellForItemAt indexPath: IndexPath) -> UICollectionViewCell {
        let cell = collectionView.dequeueReusableCell(withReuseIdentifier: "calendarCell", for: indexPath) as! CalendarCollectionViewCell

        switch indexPath.section {
        case 0:
            cell.dateLabel.text = weeks[indexPath.row]
        default:
            cell.dateLabel.text = days[indexPath.row]
        }

        if indexPath.row % 7 == 0 {
            cell.dateLabel.textColor = .red
        } else if indexPath.row % 7 == 6 {
            cell.dateLabel.textColor = .blue
        } else {
            cell.dateLabel.textColor = .black
        }

        return cell
    }
}

extension ViewController: UICollectionViewDelegateFlowLayout {
    func collectionView(_ collectionView: UICollectionView, layout collectionViewLayout: UICollectionViewLayout, sizeForItemAt indexPath: IndexPath) -> CGSize {
        let myBoundSize: CGFloat = UIScreen.main.bounds.size.width
        let cellSize : CGFloat = myBoundSize / 9
        return CGSize(width: cellSize, height: cellSize)
    }
}
8. 마무리
이로서 달력이 완성되었습니다. 제가 구현한 달력은 여러 가지 방법 중의 하나일 뿐입니다.
여기서 더욱 멋드러진 달력을 만들고 싶으신 분들은 기능을 추가하시면 됩니다. ex) 디데이 설정이나 스케줄 설정 등
궁금하신 점이나 지적 사항이 있으신 분은 댓글 남겨주시면 감사하겠습니다.
많은 도움이 되었으면 좋겠습니다.
환경
Xcode 11.3.1
swift 5
22.05.05
- ViewController.swift 전 코드 항목 추가
'Swift > 데모 개발' 카테고리의 다른 글
| [Swift] 아날로그 시계 어플을 만들어보자! (0) | 2020.06.01 |
|---|---|
| [Swift] 가위 바위 보 게임 만들기 - Step 2 (0) | 2020.04.05 |
| [Swift] 가위 바위 보 게임 만들기 - Step 1 (0) | 2020.04.05 |
| [Swift] StopWatch 만들어보기 - Step 2 (0) | 2020.03.07 |
| [Swift] StopWatch 만들어보기 - Step 1 (0) | 2020.03.07 |